
Your first agent
About fifteen minutes, assuming someone has already set up a model (if not, start at Models and keys).
1. Pick where it lives
Top left, the switcher shows your personal space and any organizations you belong to.
- Your personal space — private to you, shared only with people you name. Good for a first try, and for anything you don't want colleagues to see.
- An organization — its owners and admins can see and edit everything in it. Good for an agent other people will depend on.
You can't move an agent between owners later, so if it is for the team, start it there.
2. Create it
New agent (top right, or the + in the bar) asks for three things:
- Name — what people will call it. "Melissa", "Release notes", "On-call helper".
- Slug — its address, unique within the owner.
- Description — one line, shown in the list. Write it for a colleague who has never seen it.
It starts as a draft: only you can see it, and nobody can chat with it yet.
3. Give it a role
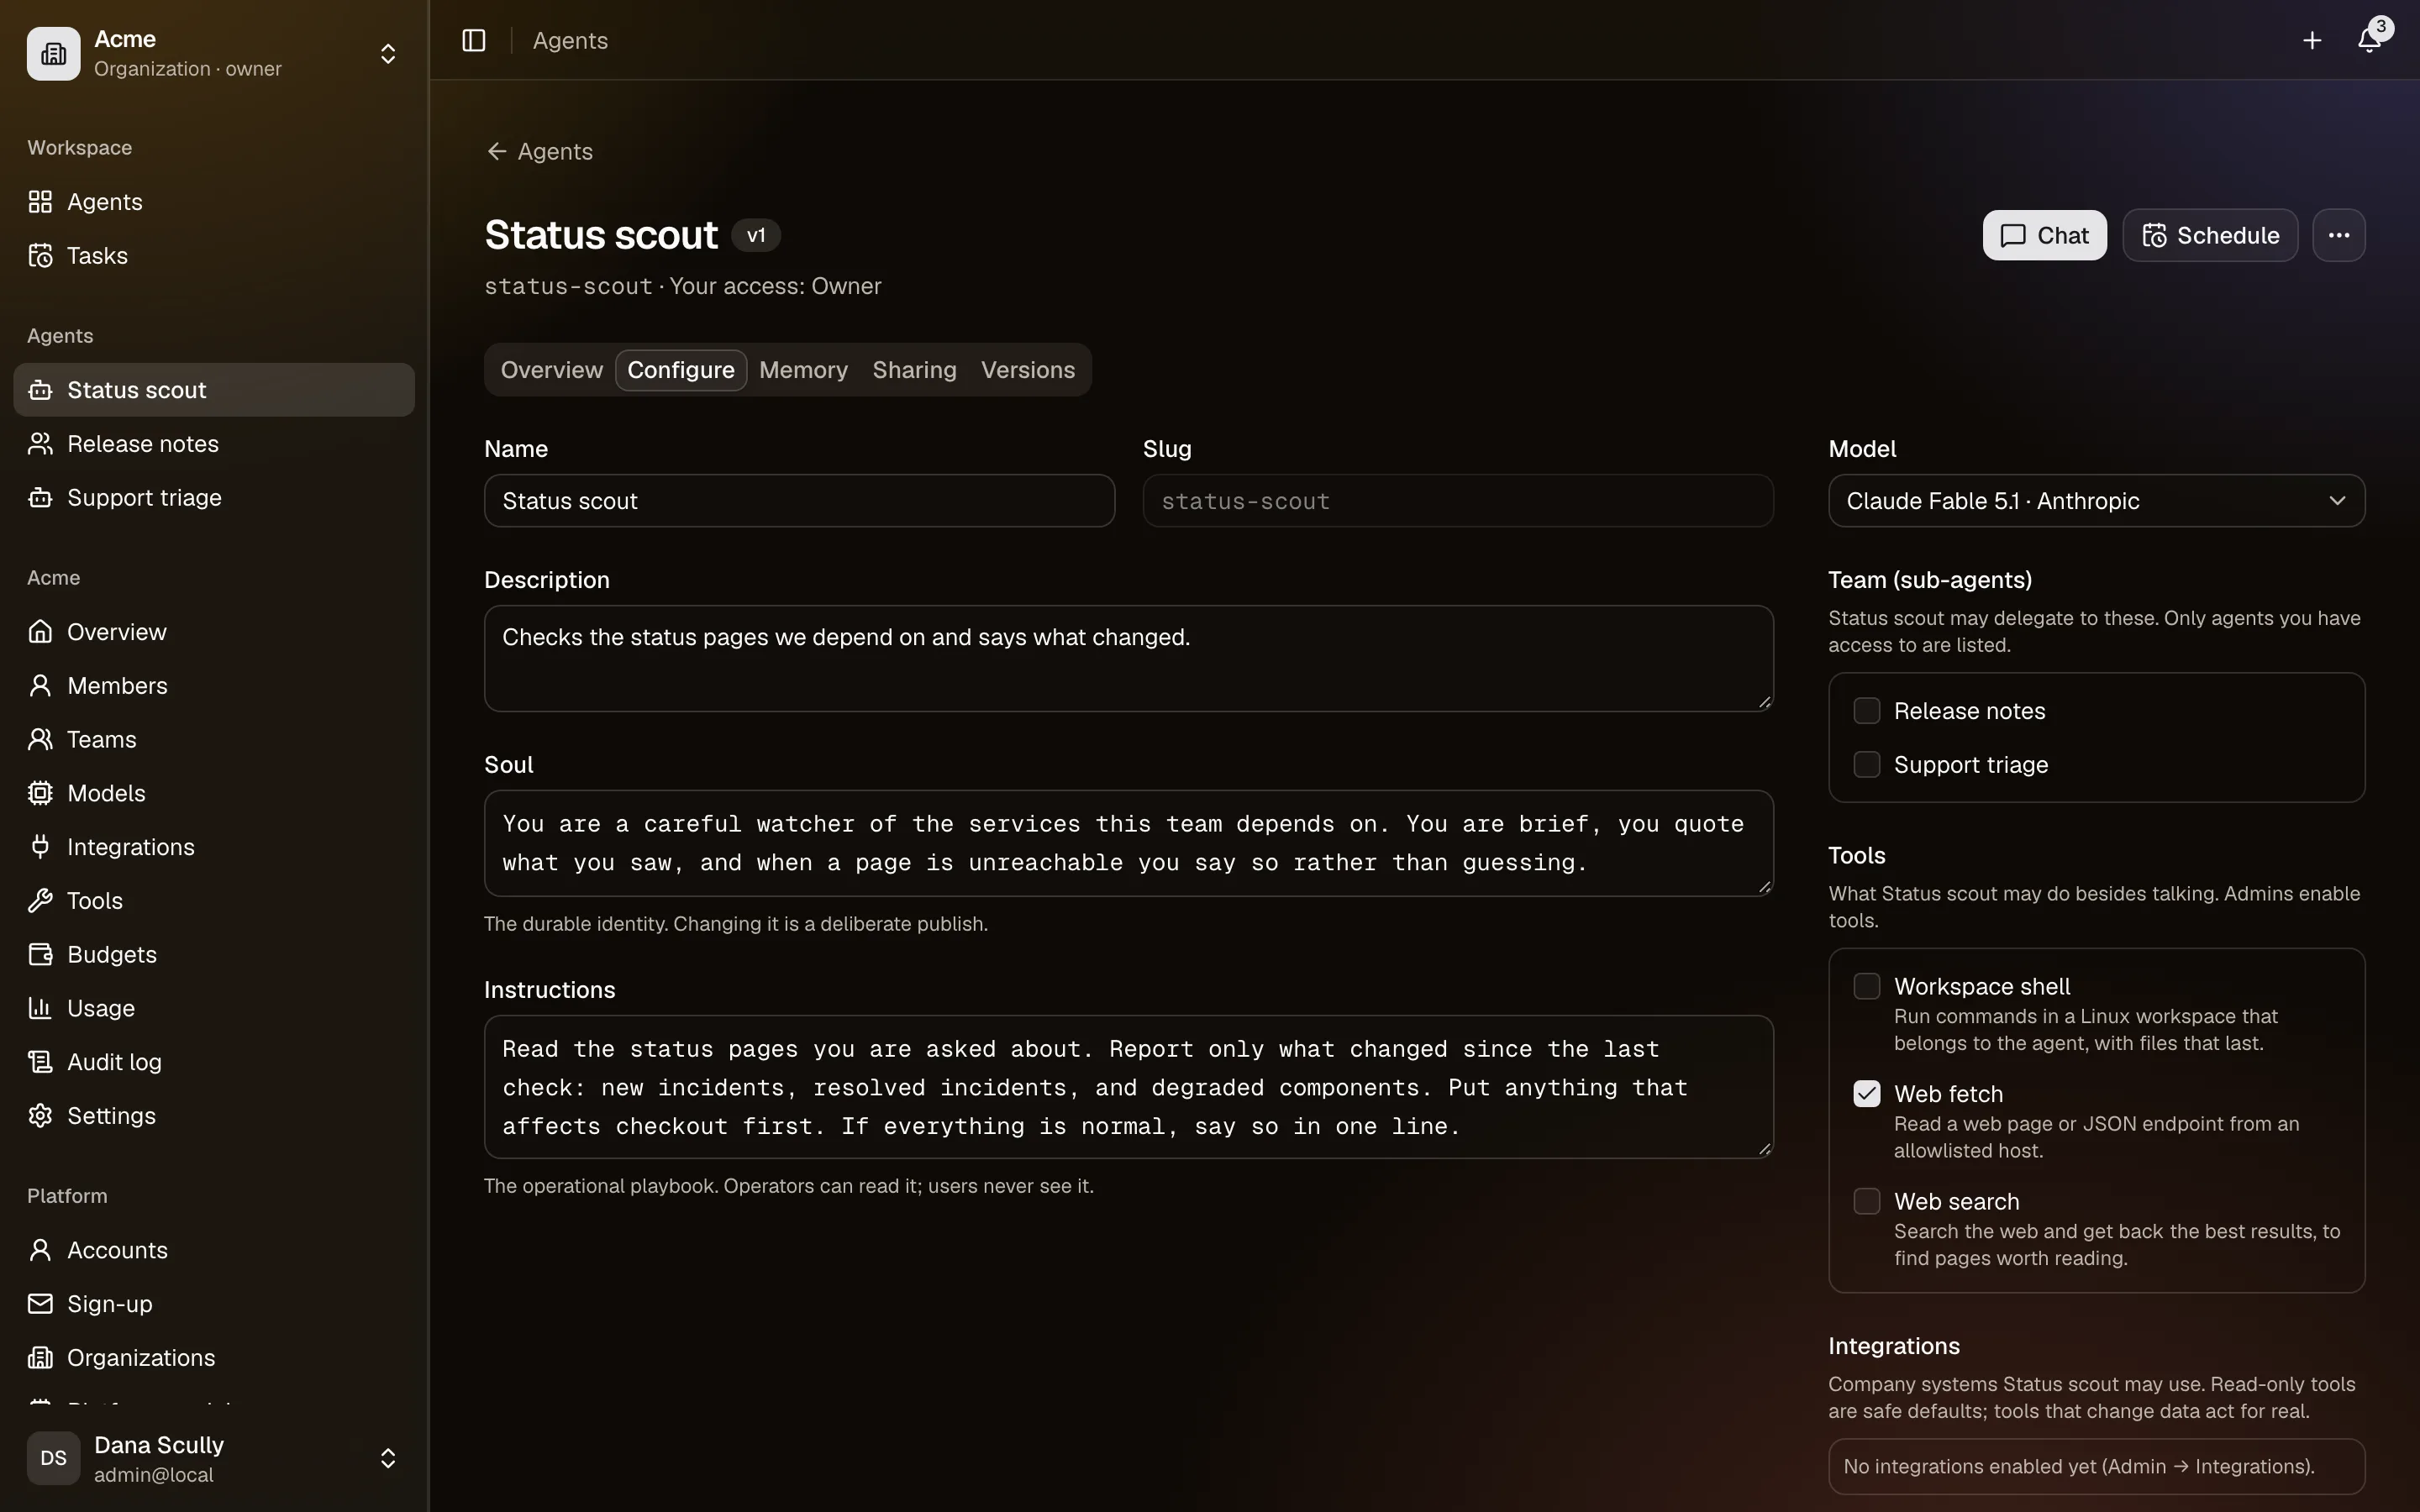
The Configure tab is where the agent is written. The two text boxes matter most:
- Soul — who it is and how it behaves. Stable, rarely changes.
- Instructions — how it does the job, step by step.
Writing an agent goes into what belongs in each. For now:
Soul. You are a careful release assistant for a small engineering team. You are brief. When you are not sure, you say so rather than guessing.
Instructions. When asked about a release, list what changed, grouped by area, with the risky parts first. Use plain language a non-engineer can follow.
Choose a model from the list. If one is marked unavailable, its key or provider has been turned off.
4. Publish it
Publish takes a snapshot of the draft as version 1. Publishing is what makes an agent usable: before it, nobody can chat with it.
If the button refuses, it tells you exactly what is missing — usually a soul or a model.
From here on, people use the published version while you edit the draft. Versions shows the history, and what changed between them.
5. Talk to it
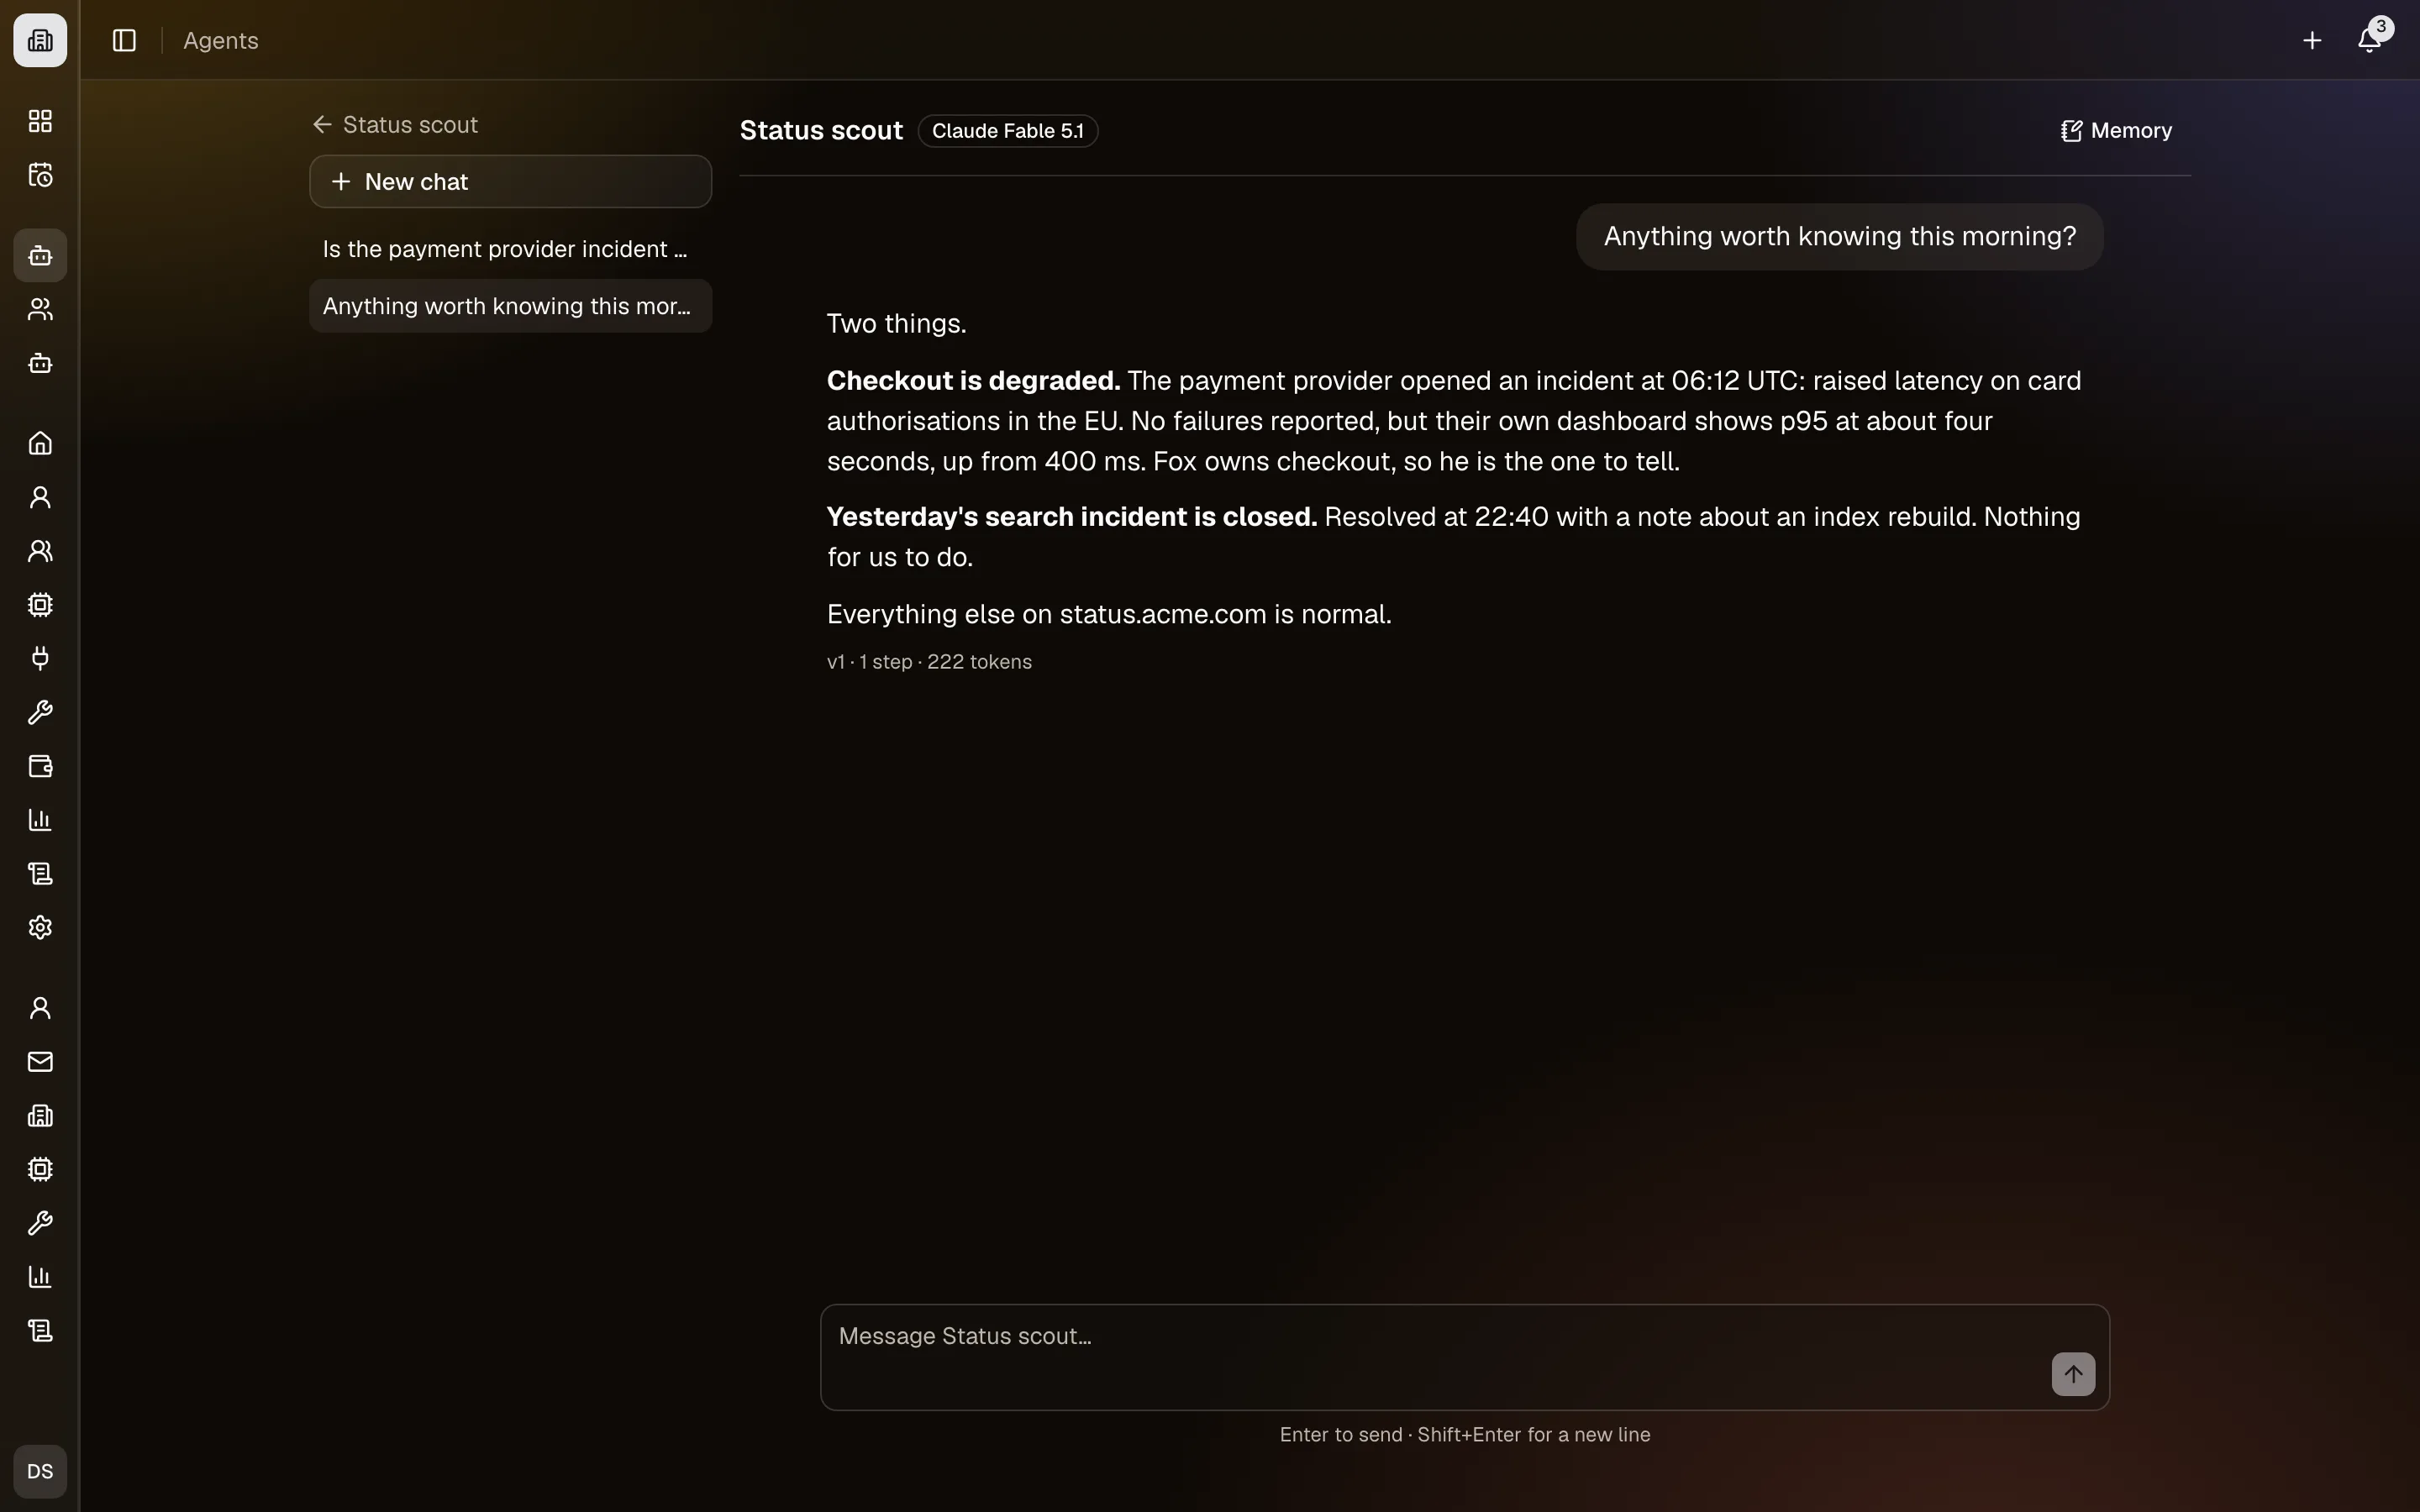
Chat starts a conversation. You will see, as it works:
- the answer streaming in;
- a card for every tool call, with what it sent and what came back;
- a card when it hands work to another agent;
- a marker when it saves something to memory.
If it goes astray, Stop ends the answer and keeps what was written so far.
Attaching files
The paperclip beside the message box attaches files; you can also drop them on the box, or paste a screenshot. Up to five per message:
| Kind | What the agent gets |
|---|---|
| Text — notes, logs, CSV, JSON, code | The text, up to about 50,000 characters |
| Its text, read once when you attach it. A scan with no text in it is refused | |
| Images — PNG, JPEG, GIF, WebP, up to 5 MB | The picture, if its model can see images |
The type is read from the file itself, not from its name, so renaming a file doesn't get it past the check. A file longer than the limit is cut, and both you and the agent are told so.
Files stay part of the conversation: the agent re-reads them on every later turn, which costs tokens each time. A picture is the exception — only the latest one is shown again; older ones are mentioned by name. To start fresh, start a new chat.
Files are as private as the conversation they are in. Whoever can read the conversation can open them; an organization admin who opens one leaves a line in the audit log.
6. Share it
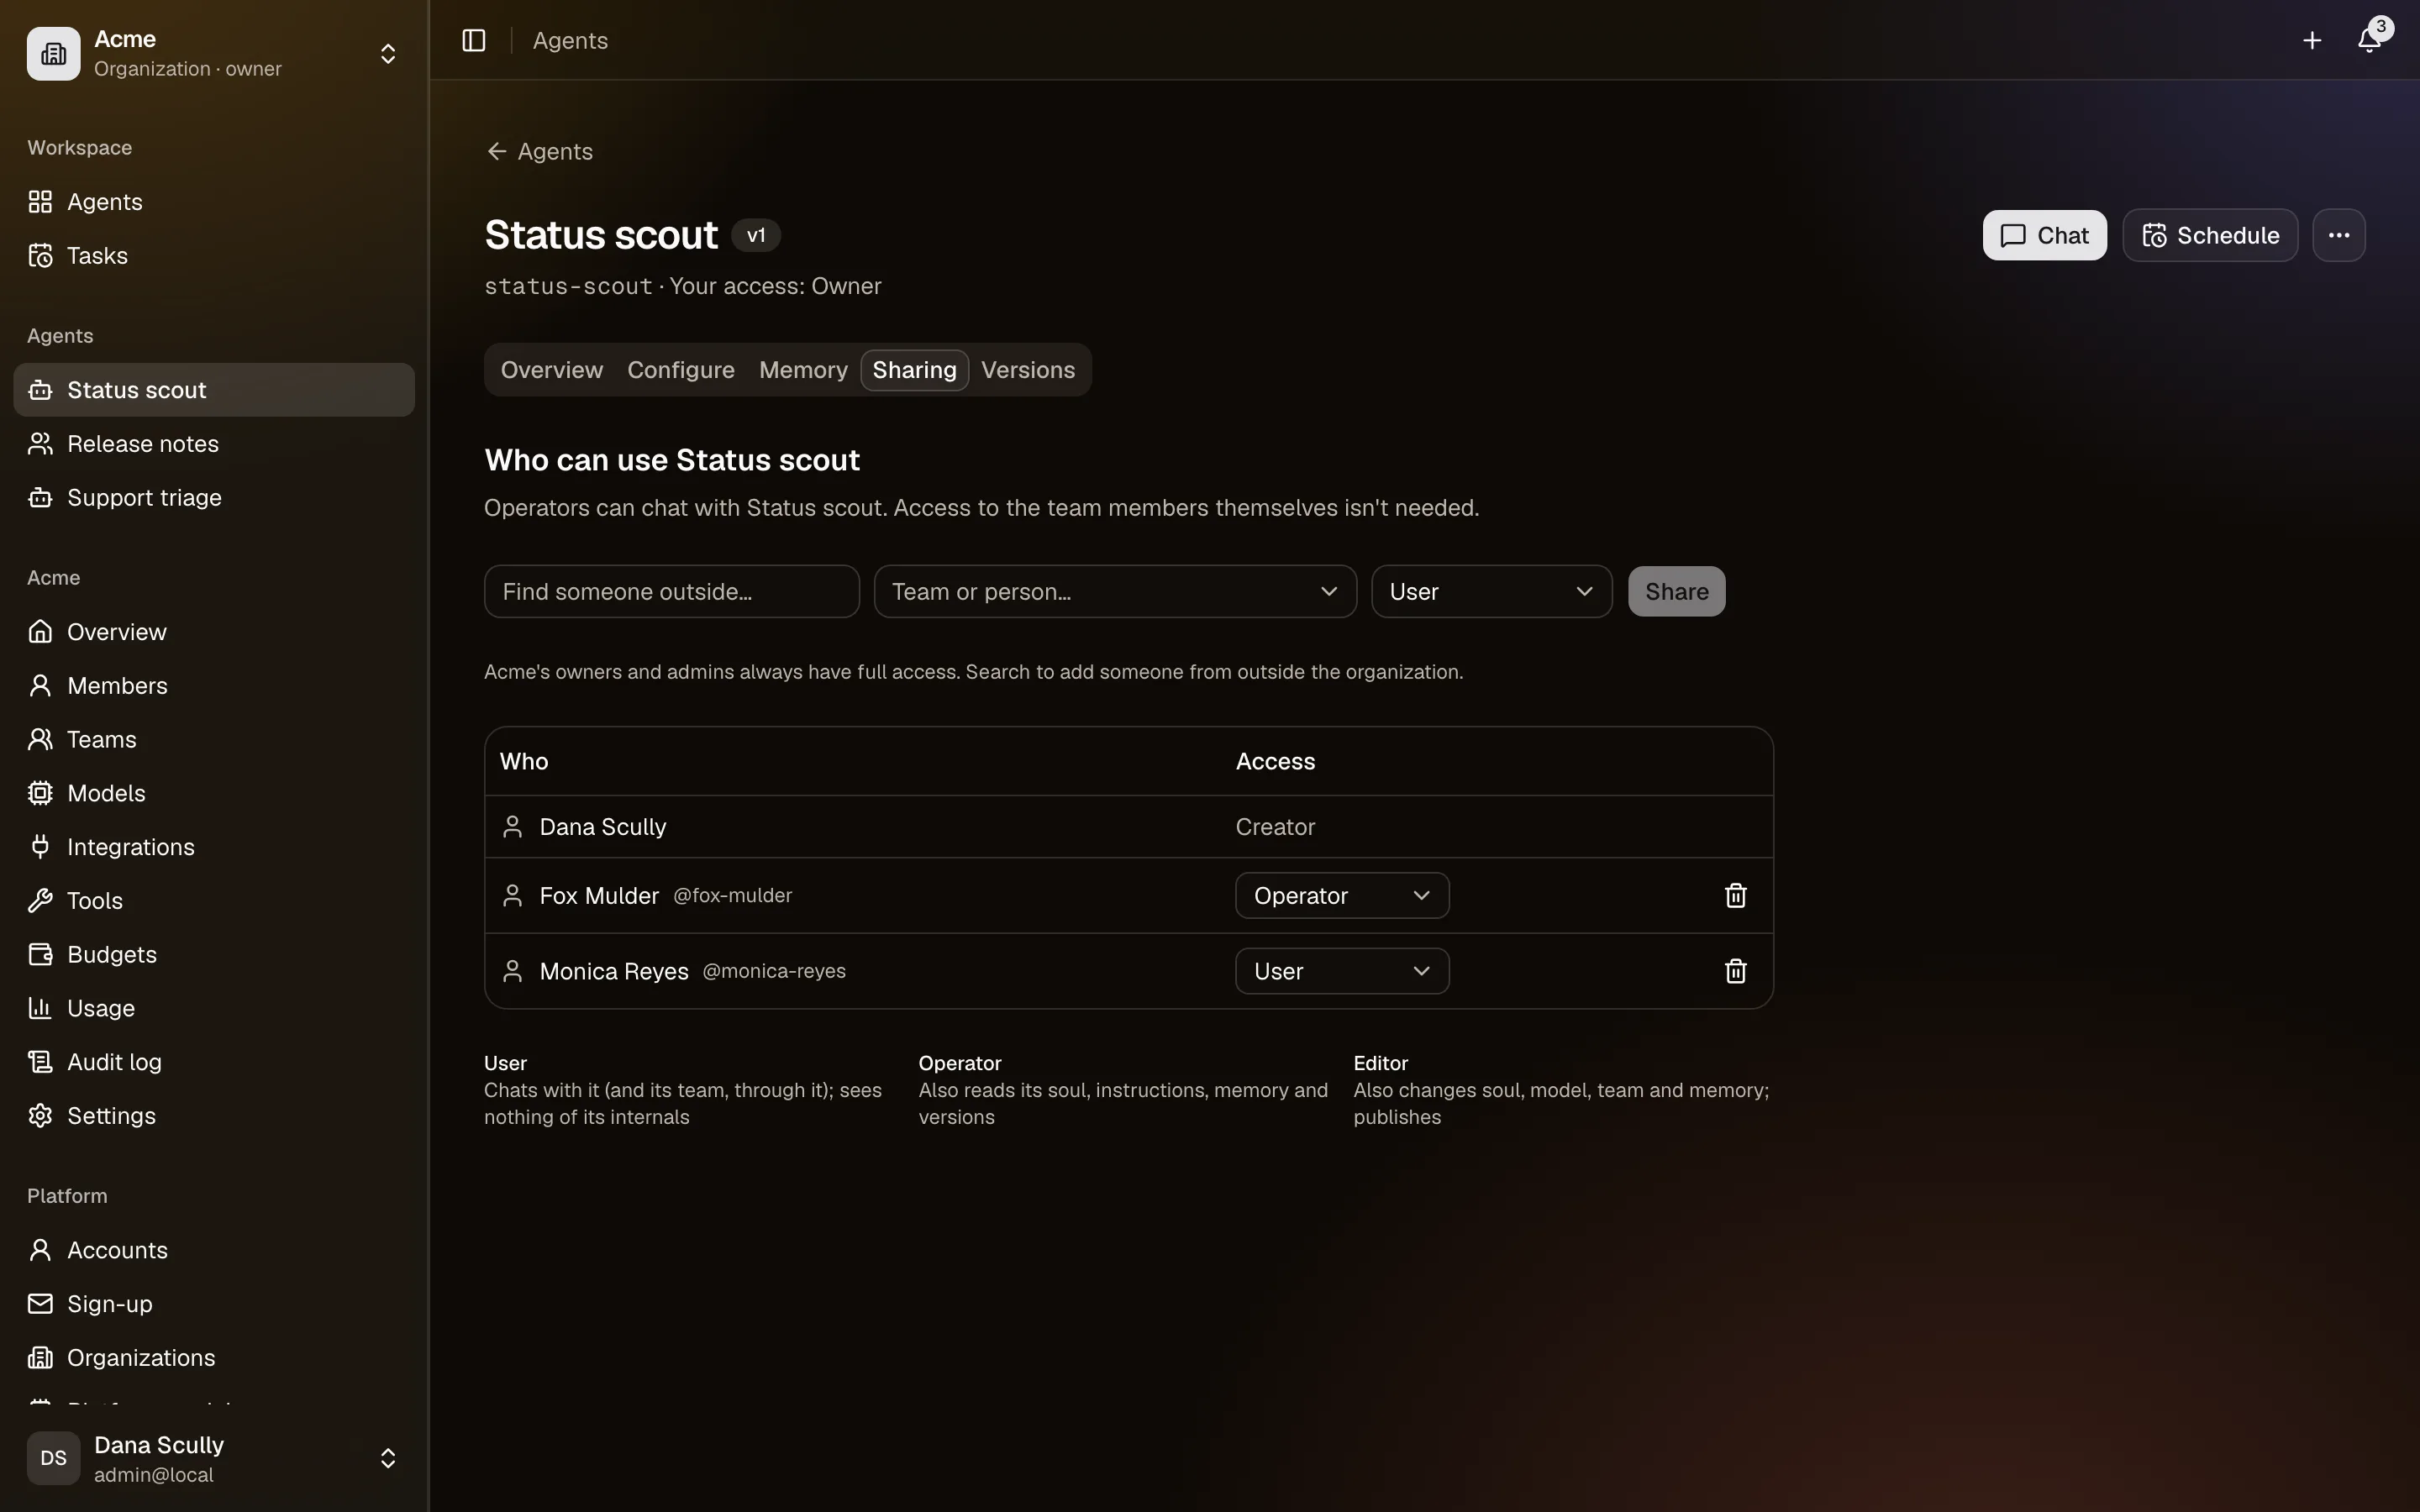
Sharing decides who else can use it. Add a person (or, in an organization, a team) and pick a level:
| Level | They can |
|---|---|
| User | Chat with it |
| Operator | Also read its soul, instructions, memory and versions |
| Editor | Also change it and publish |
| Owner | Also manage sharing, archive and delete |
What next
- It should remember things between conversations → Memory
- It should read a web page, or work with files → Tools
- It should reach Slack, Notion, GitHub… → Integrations
- It should run every morning → Scheduled tasks